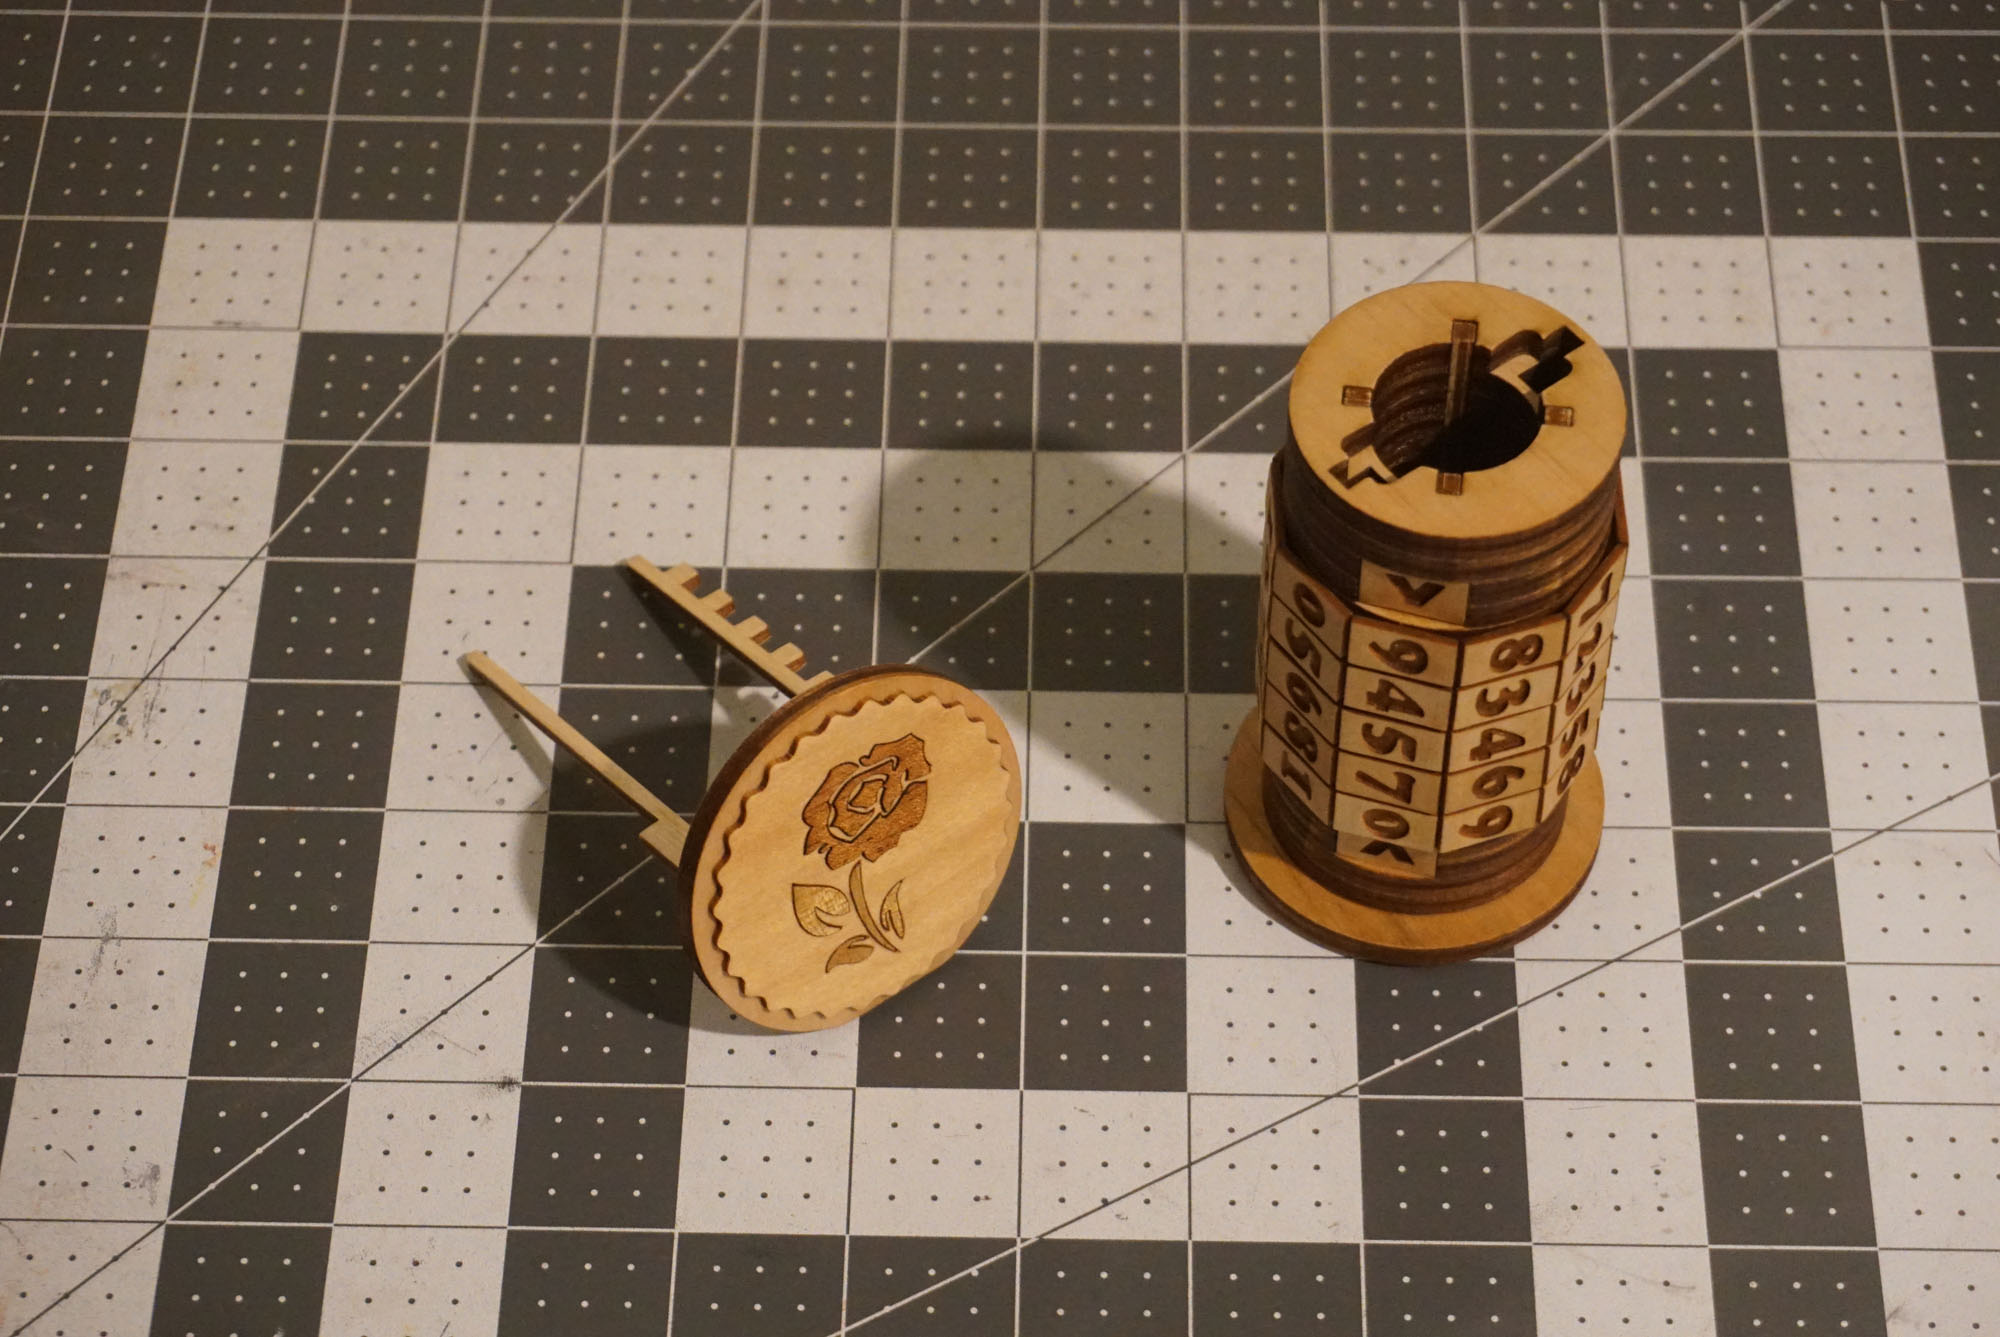
This is a classic cryptex that opens with a 5-digit numeric code

Before I designed my own, I tried this kit from Ugears
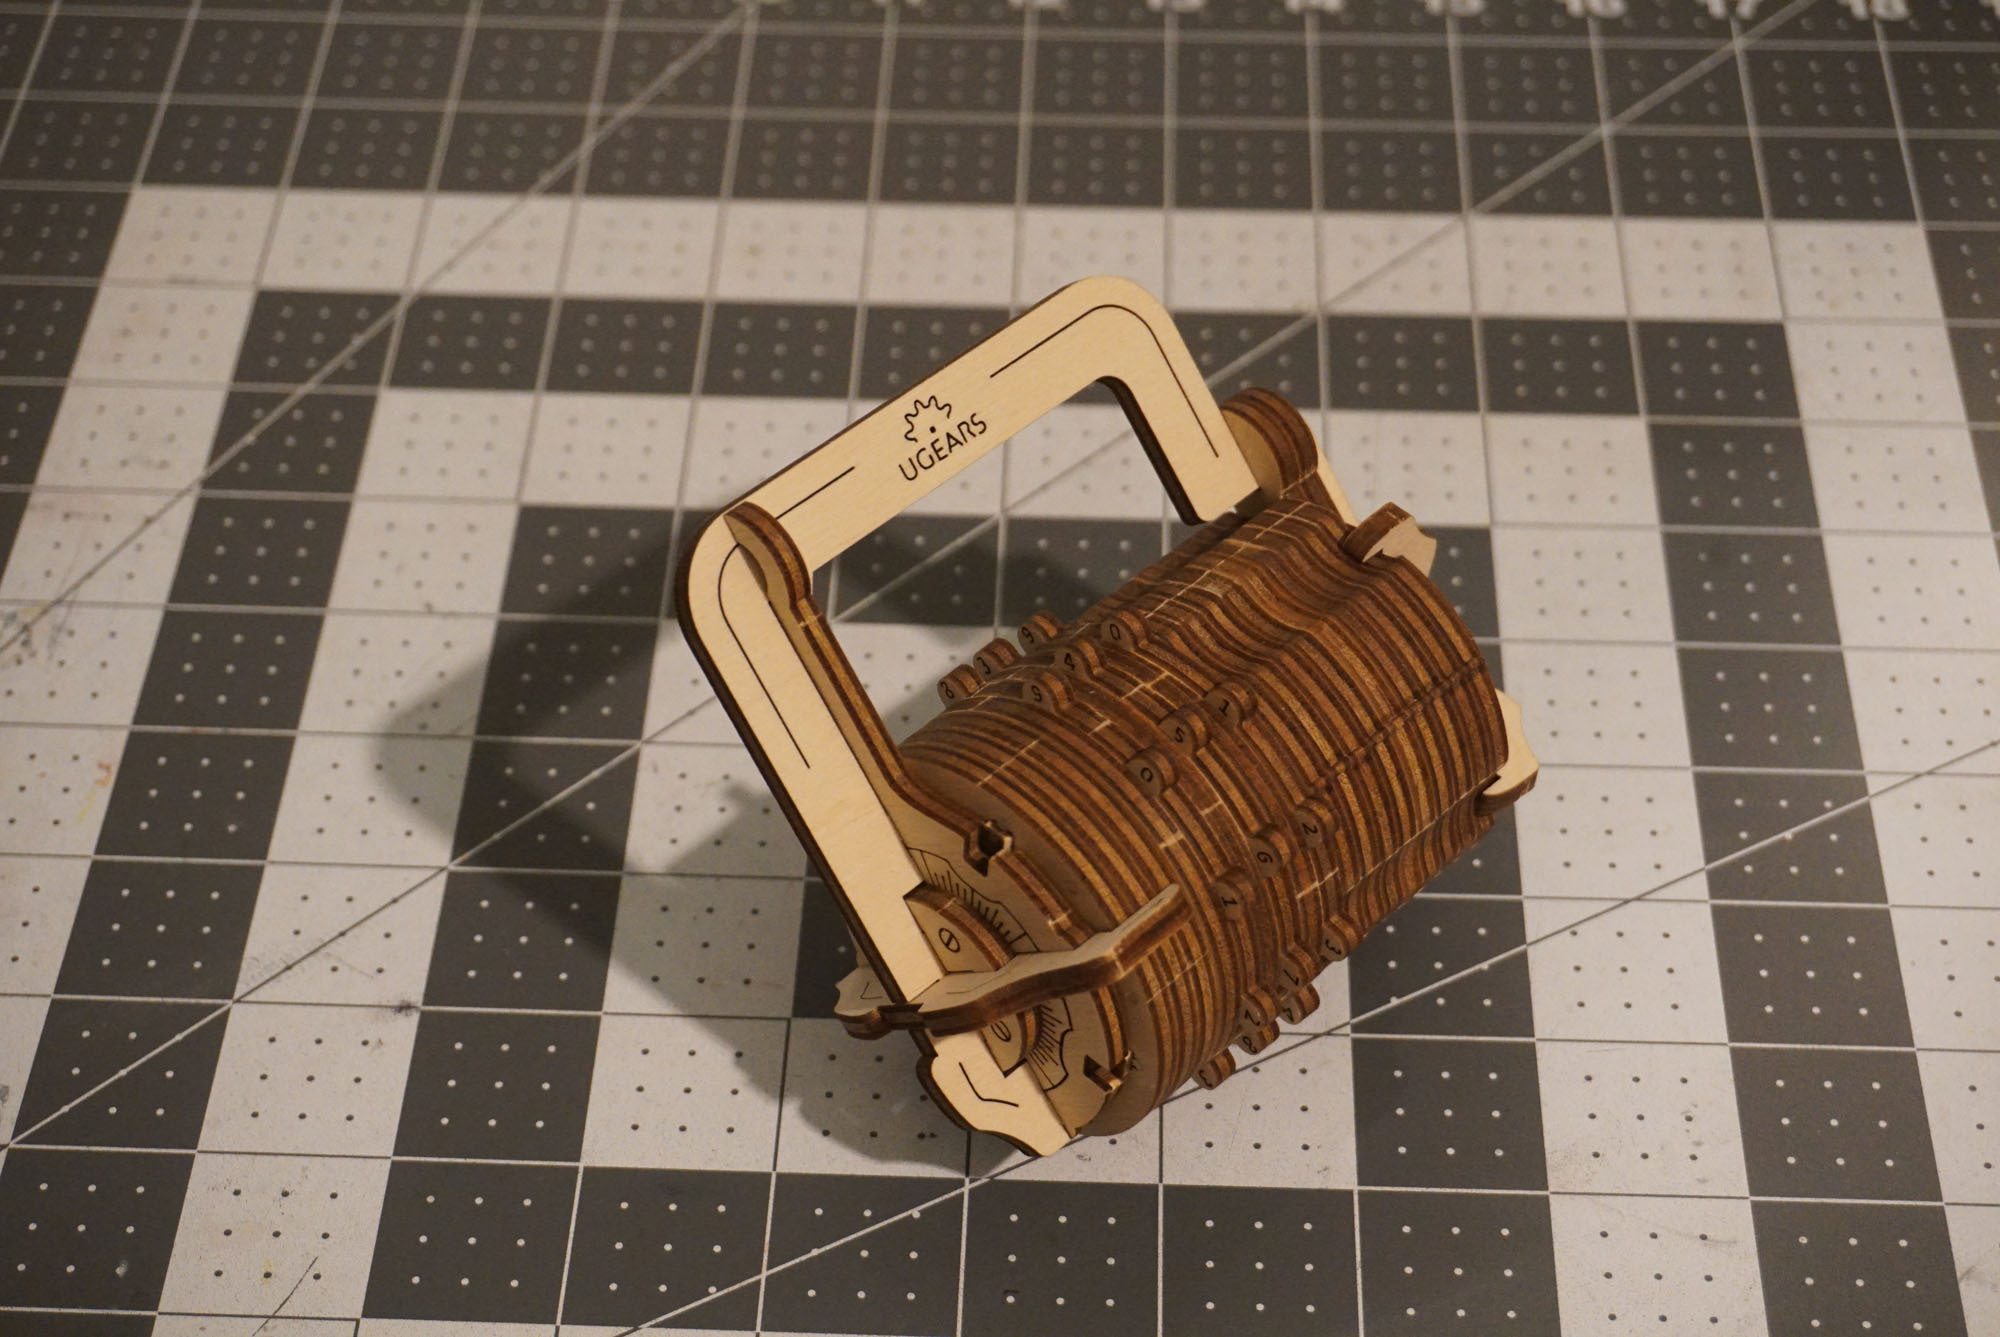
https://ugearsmodels.com/combination-lock-model.html
It has a simple design and was easy to put together. Its downsides are that it only has 3 digits and a very small internal compartment.
Then I did some research on what other people have done. I came across this one: http://msraynsford.blogspot.com/2016/10/laser-cut-cryptex.html
I liked the ratchet system and the changeable combination. However it was way too bulky for my needs. I needed something more elegant.
The design
I decided to sacrifice the changeable combination feature, as it adds bulk to both width and length.
Instead of the mechanical ratchet (I’m a bit skeptical how durable it is), I chose to use magnets. It allowed for even slimmer design.
The device is made of layers of plywood

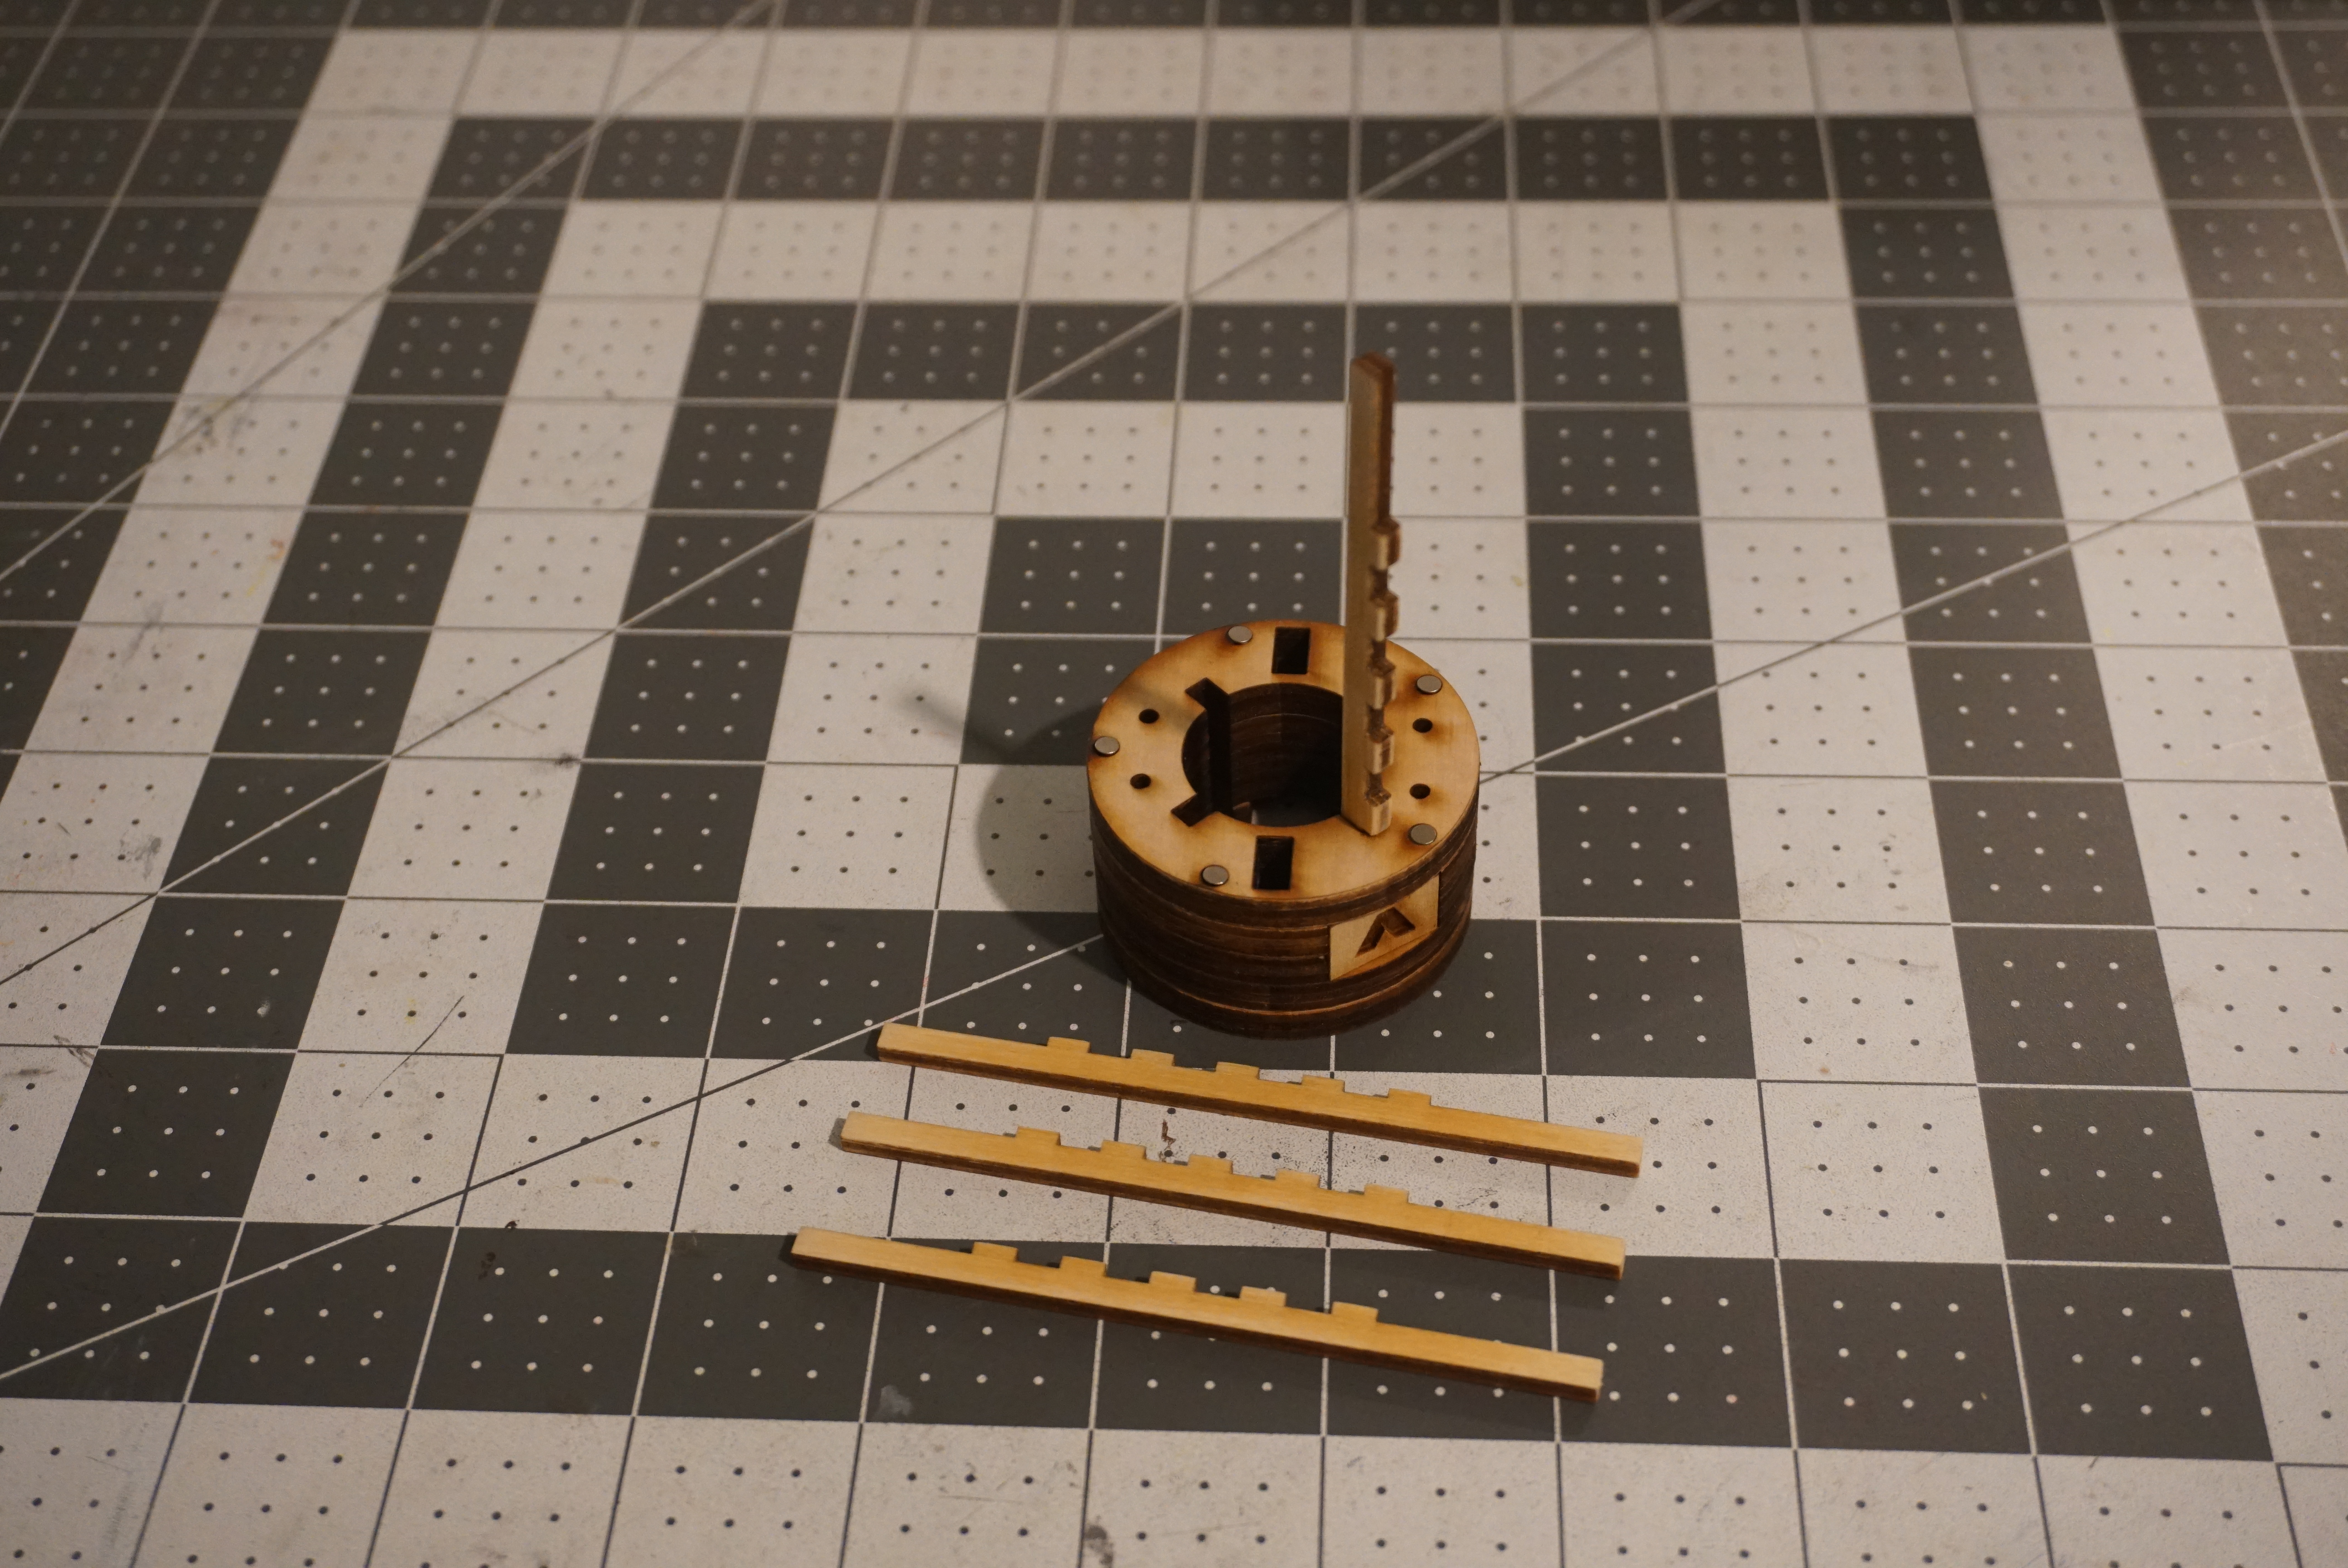
5 of them form the bottom cylinder, 5 for the top cylinder, and the rest make the code rings. The stationary parts of the rings contain 5 magnets and the rotary parts have 2. This makes 10 stable orientations by using only 7 magnets per ring. The holes for the magnets are etched using higher power setting to produce holes 1.5mm deep.

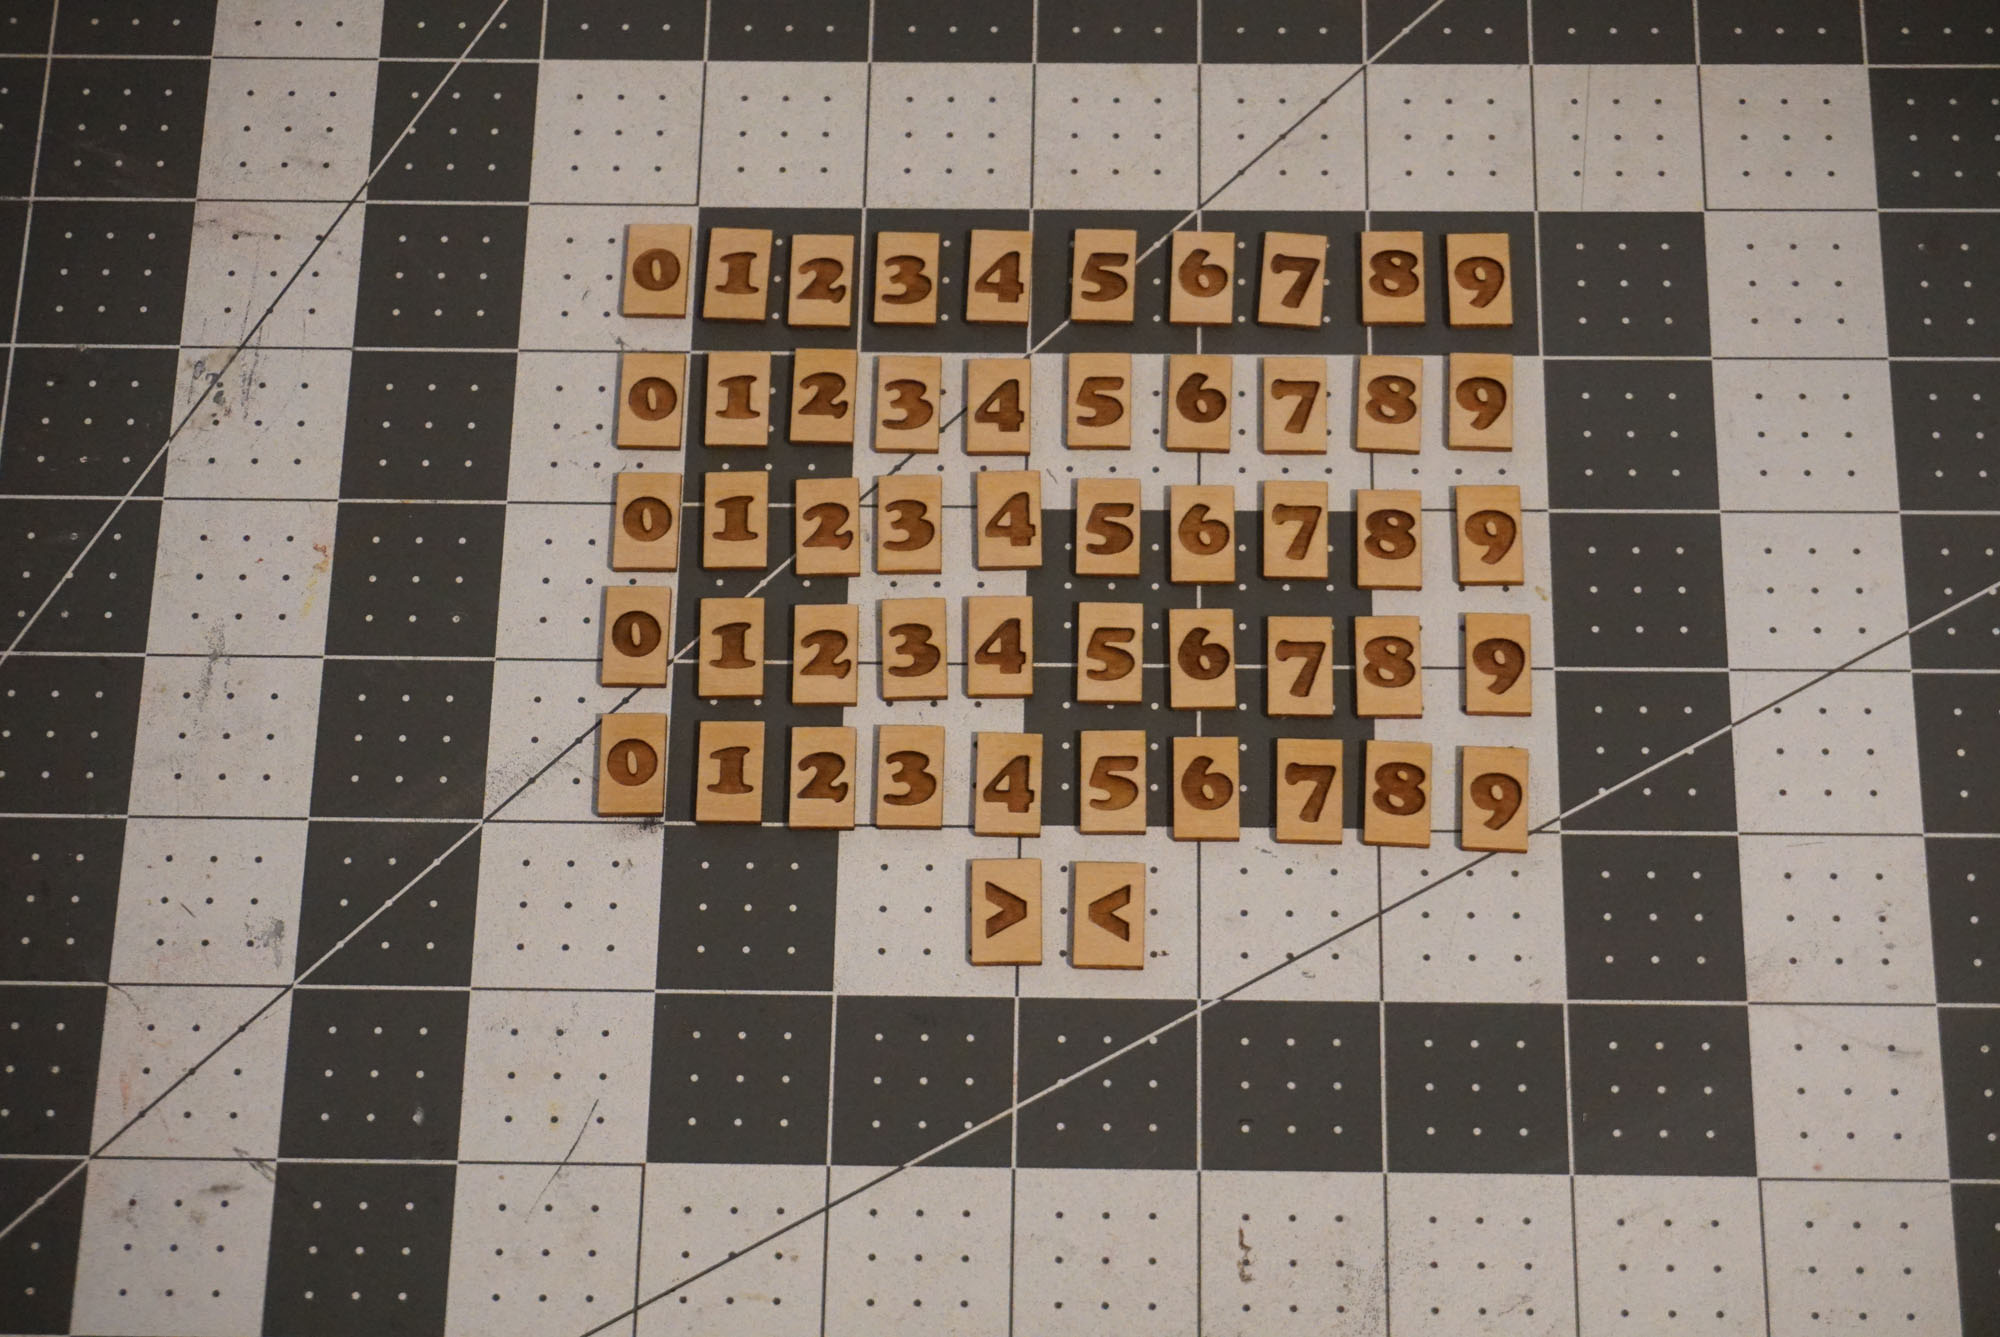
The rings have 10 digits made from light-weight bass wood. I sprayed the tiles with shellac for added durability. After they are sanded, they get a very nice smooth tactile feel.
Assembly
First, construct the ring pairs using the 10 tiles and 7 magnets.
When gluing the magnets, make sure the polarity is reversed between the stationary and rotary parts.
Rub the moving parts with candle wax or other wood lubricant.
The bottom and top cylinders need to be glued while carefully aligning the layers. Alignment is critical to make sure all pieces fit in the end. Each of the pieces has 4 holes for 2mm toothpicks. However I found the toothpicks to be not exactly straight, and thus insufficient for alignment. I had to create a helper template that is inserted in the center during construction.

Attach one of the 4 ribs to the top cylinder and order the rings. This is the last time the rings can be moved, so double-check the combination.
Glue the other 3 ribs to the top cylinder. Verify that the rings spin freely.
Assemble the key. Adjust the key position in such way that the rings can rotate without a snag. With the key in place, glue the lid to it such that it is flush with the opening of the cryptex.
Finally, attach the bottom cylinder.
Decorate to taste. In my case I have glued 2 caps on the top and bottom with decorative patterns. The 2 large square parts are attached together to create an alignment tool to accurately position the caps.
Make it
Download the plans from here: cryptex.zip
The main body is made of 5.1mm maple plywood. The ribs and the key are 3.15mm birch plywood. The digit tiles are 1.6mm bass wood.
The design is very sensitive to material thickness. Make sure you measure your materials exactly, and adjust the dimensions.
Sanding and gluing can alter the thickness of the pieces. For example I had to redo the ribs after I made the top cylinder, to have them match its final height.
The most visible side of the 5mm layers is their edge. Sometimes plywood has internal voids and other imperfections that may be exposed at the edge. Make sure the pieces look good before assembling.
The magnets used are similar to these: https://www.amazon.com/gp/product/B073PW8JFC