This is a puzzle box that employs magnets and reed switches
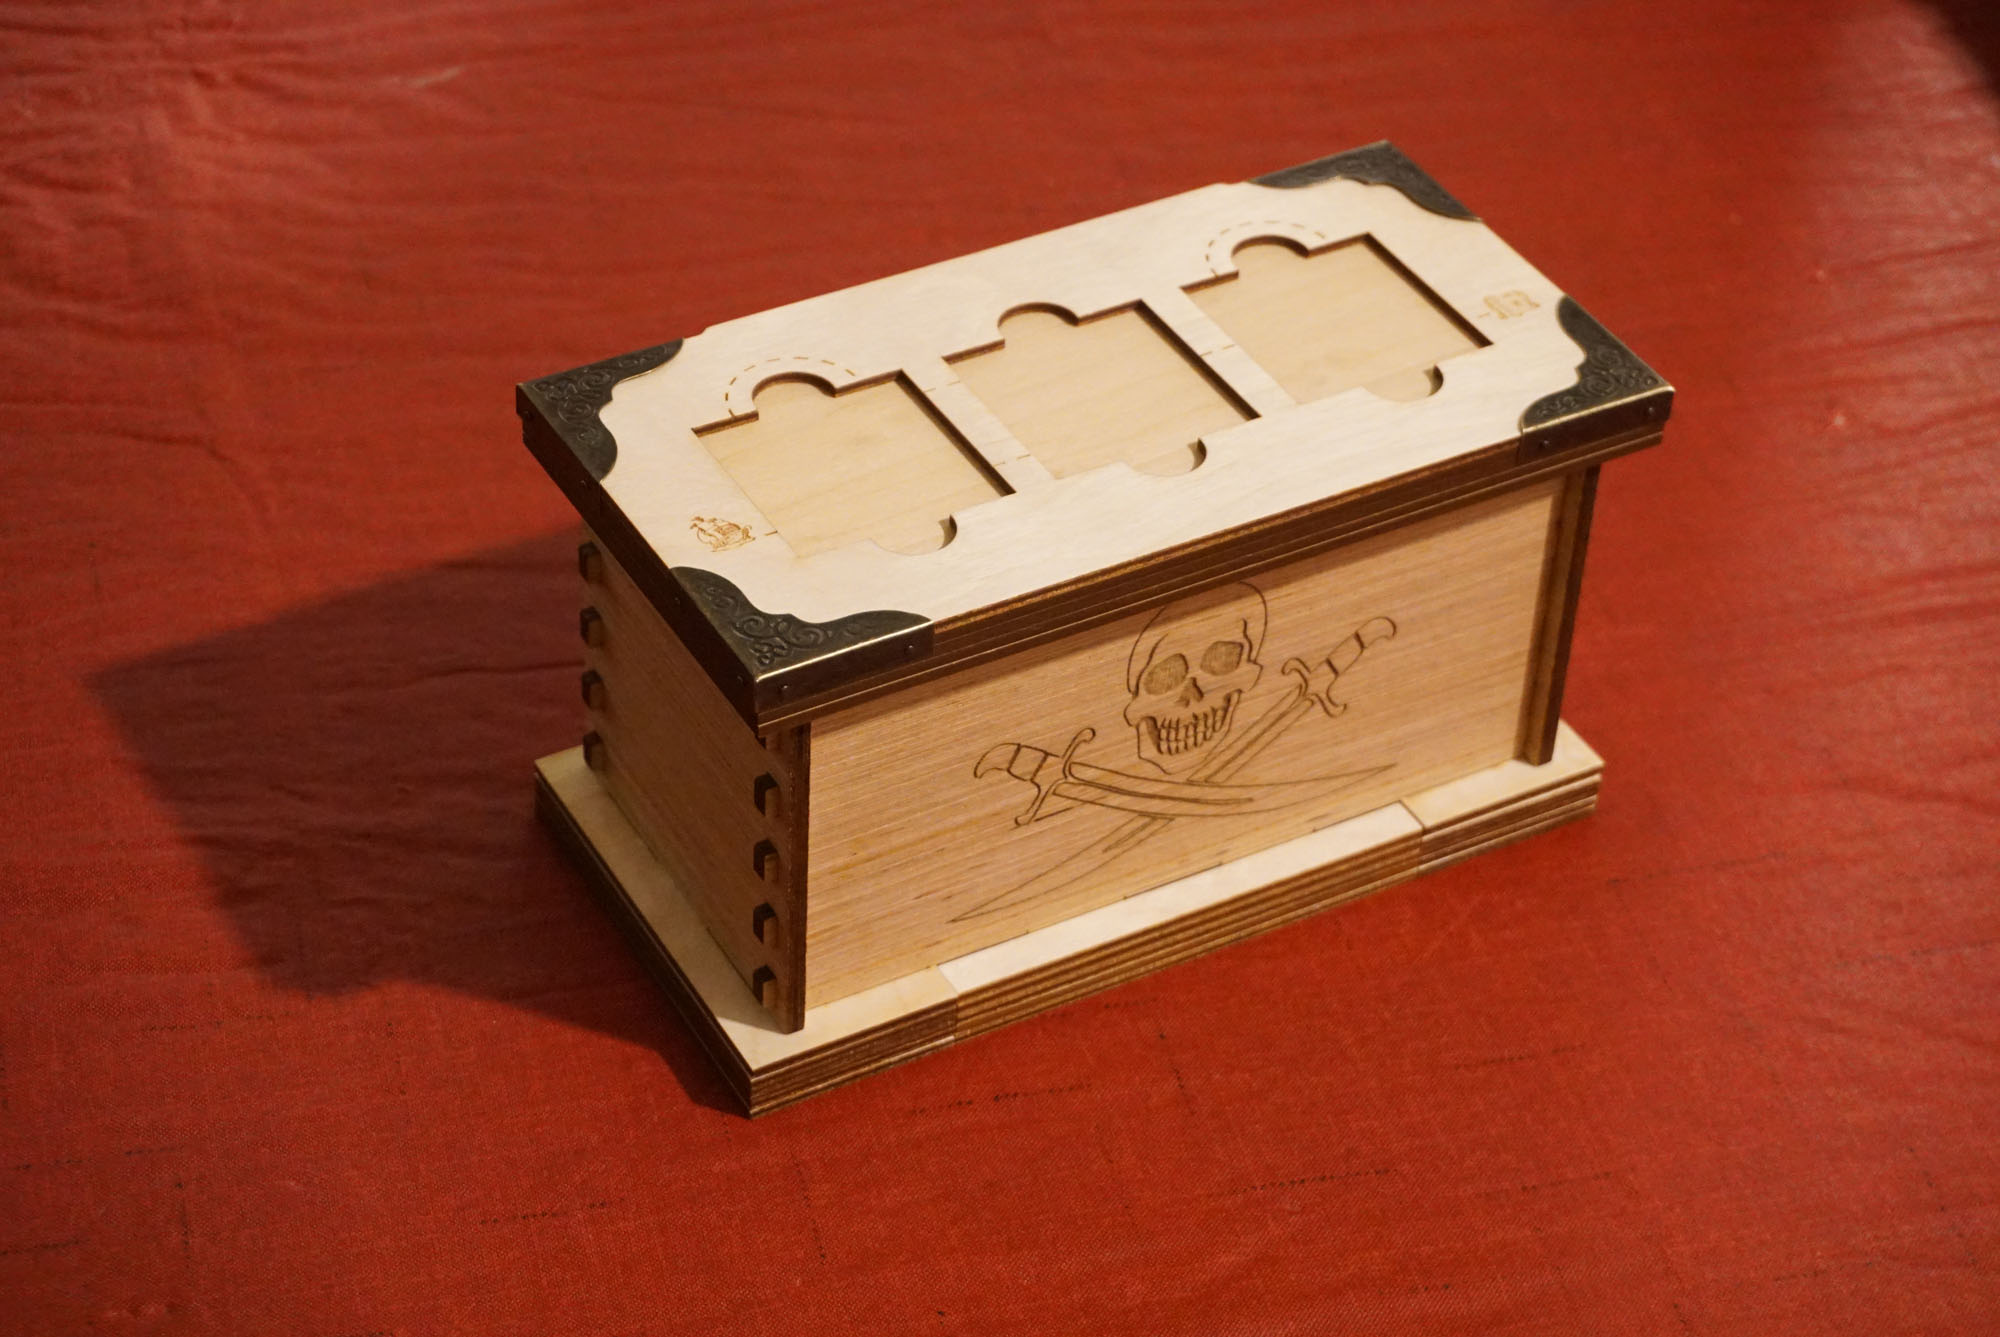
You have to locate and open the secret compartment, where you will find 3 wooden tiles. They need to be placed on the lid of the box in specific order and orientation. When it is done, the box lid will pop open

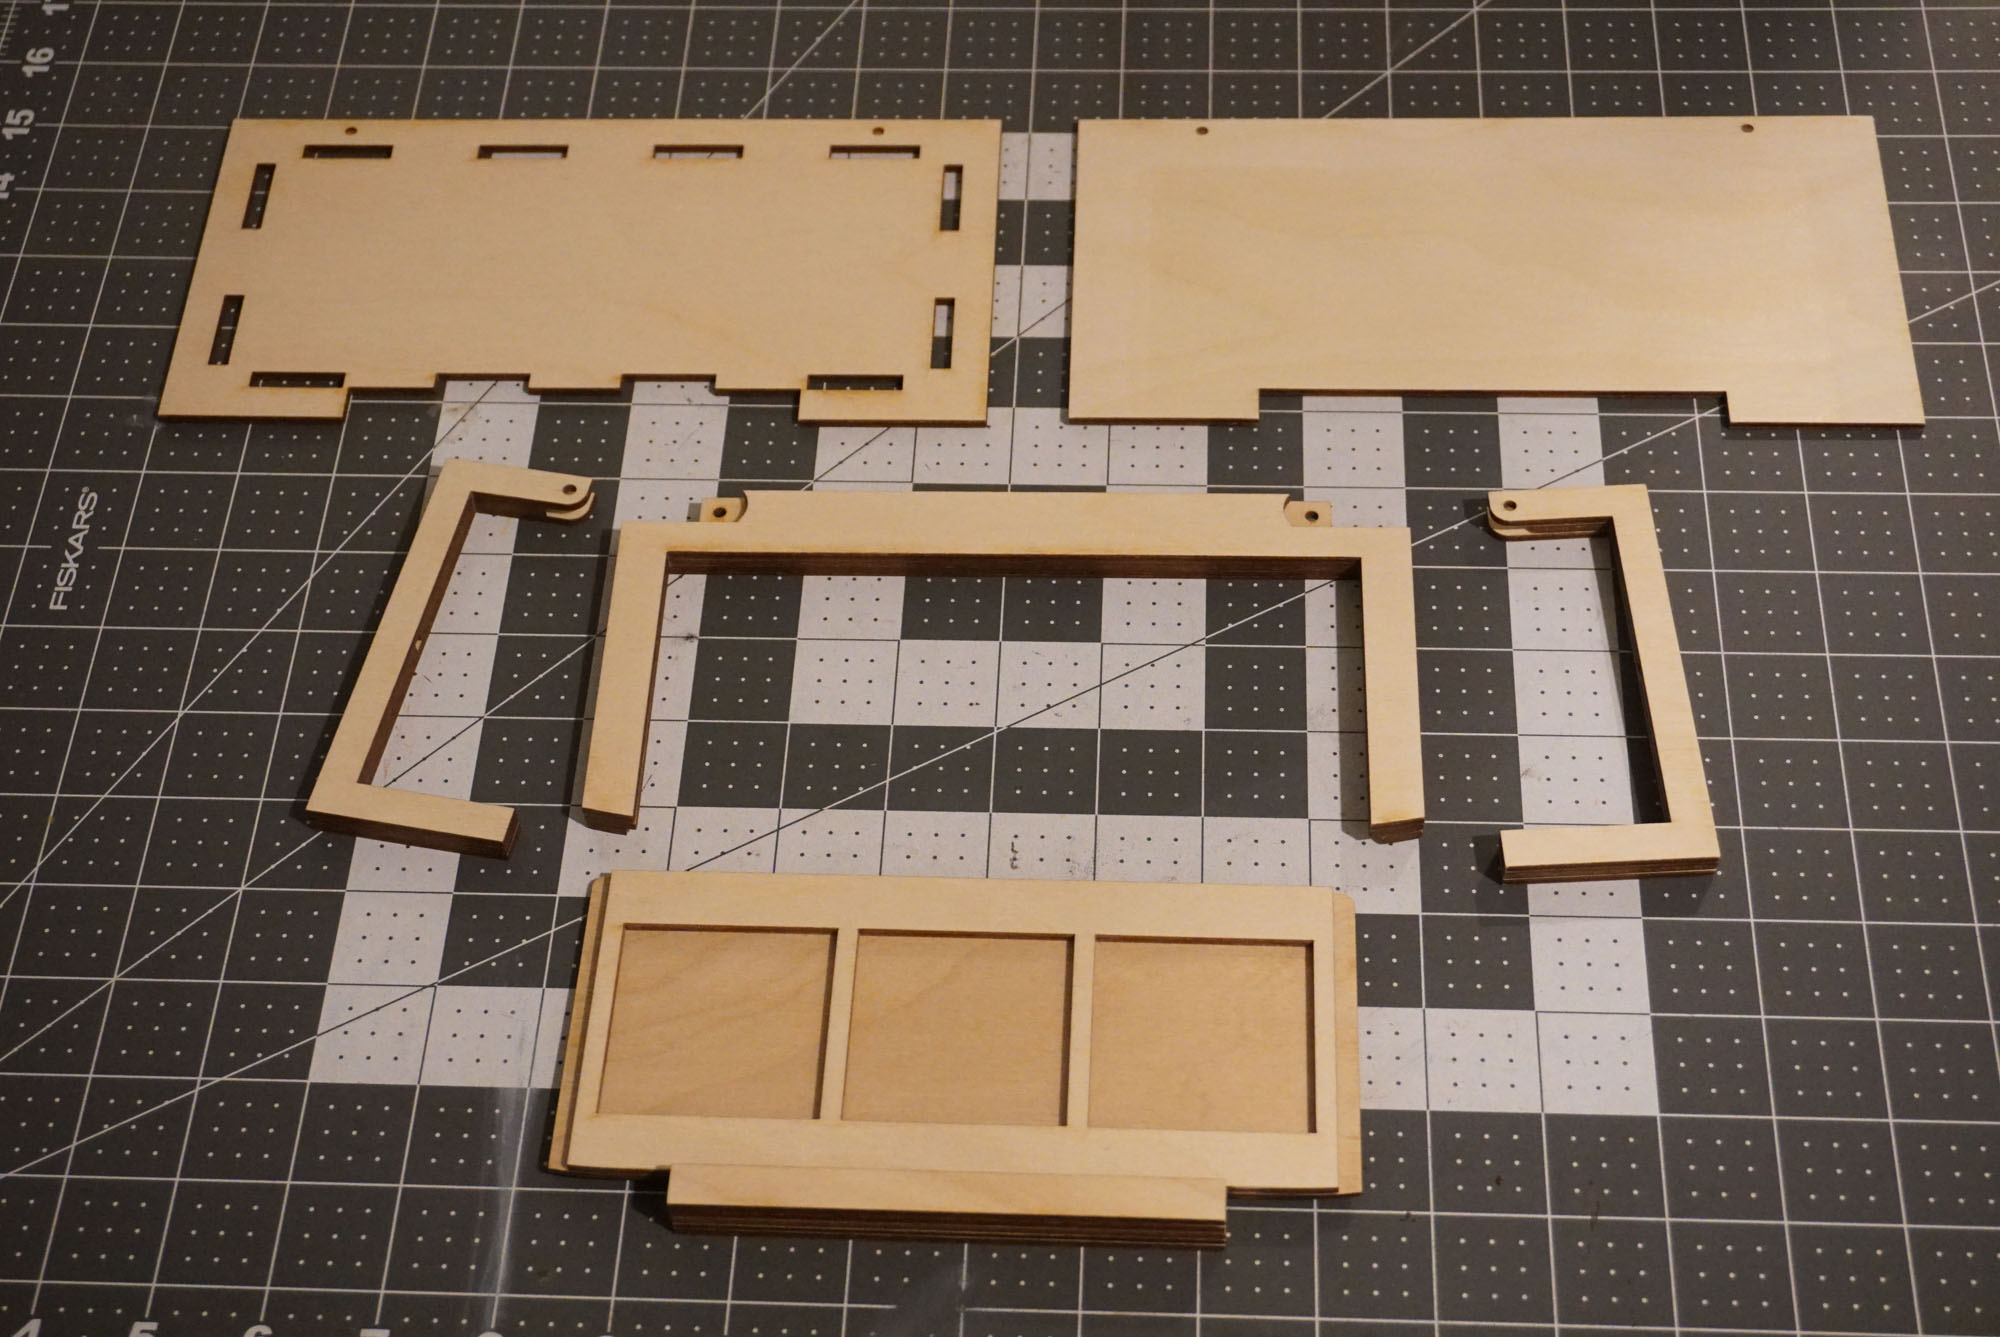
The base of the box is made of 3mm plywood. I happened to have sheets that were slightly thinner and slightly thicker than 3mm. To avoid tight fit, I deliberately made some of the pieces out of the thinner material. Look for box_3mm_thin.svg and box_3mm_thick.svg files to see which ones to use. If you are using a single uniform sheet of plywood, you may have to do some sanding on the moving pieces to get them slide more freely.
The base layer of the drawer is made of even thinner plywood – 2.5mm – to make it fit more easily

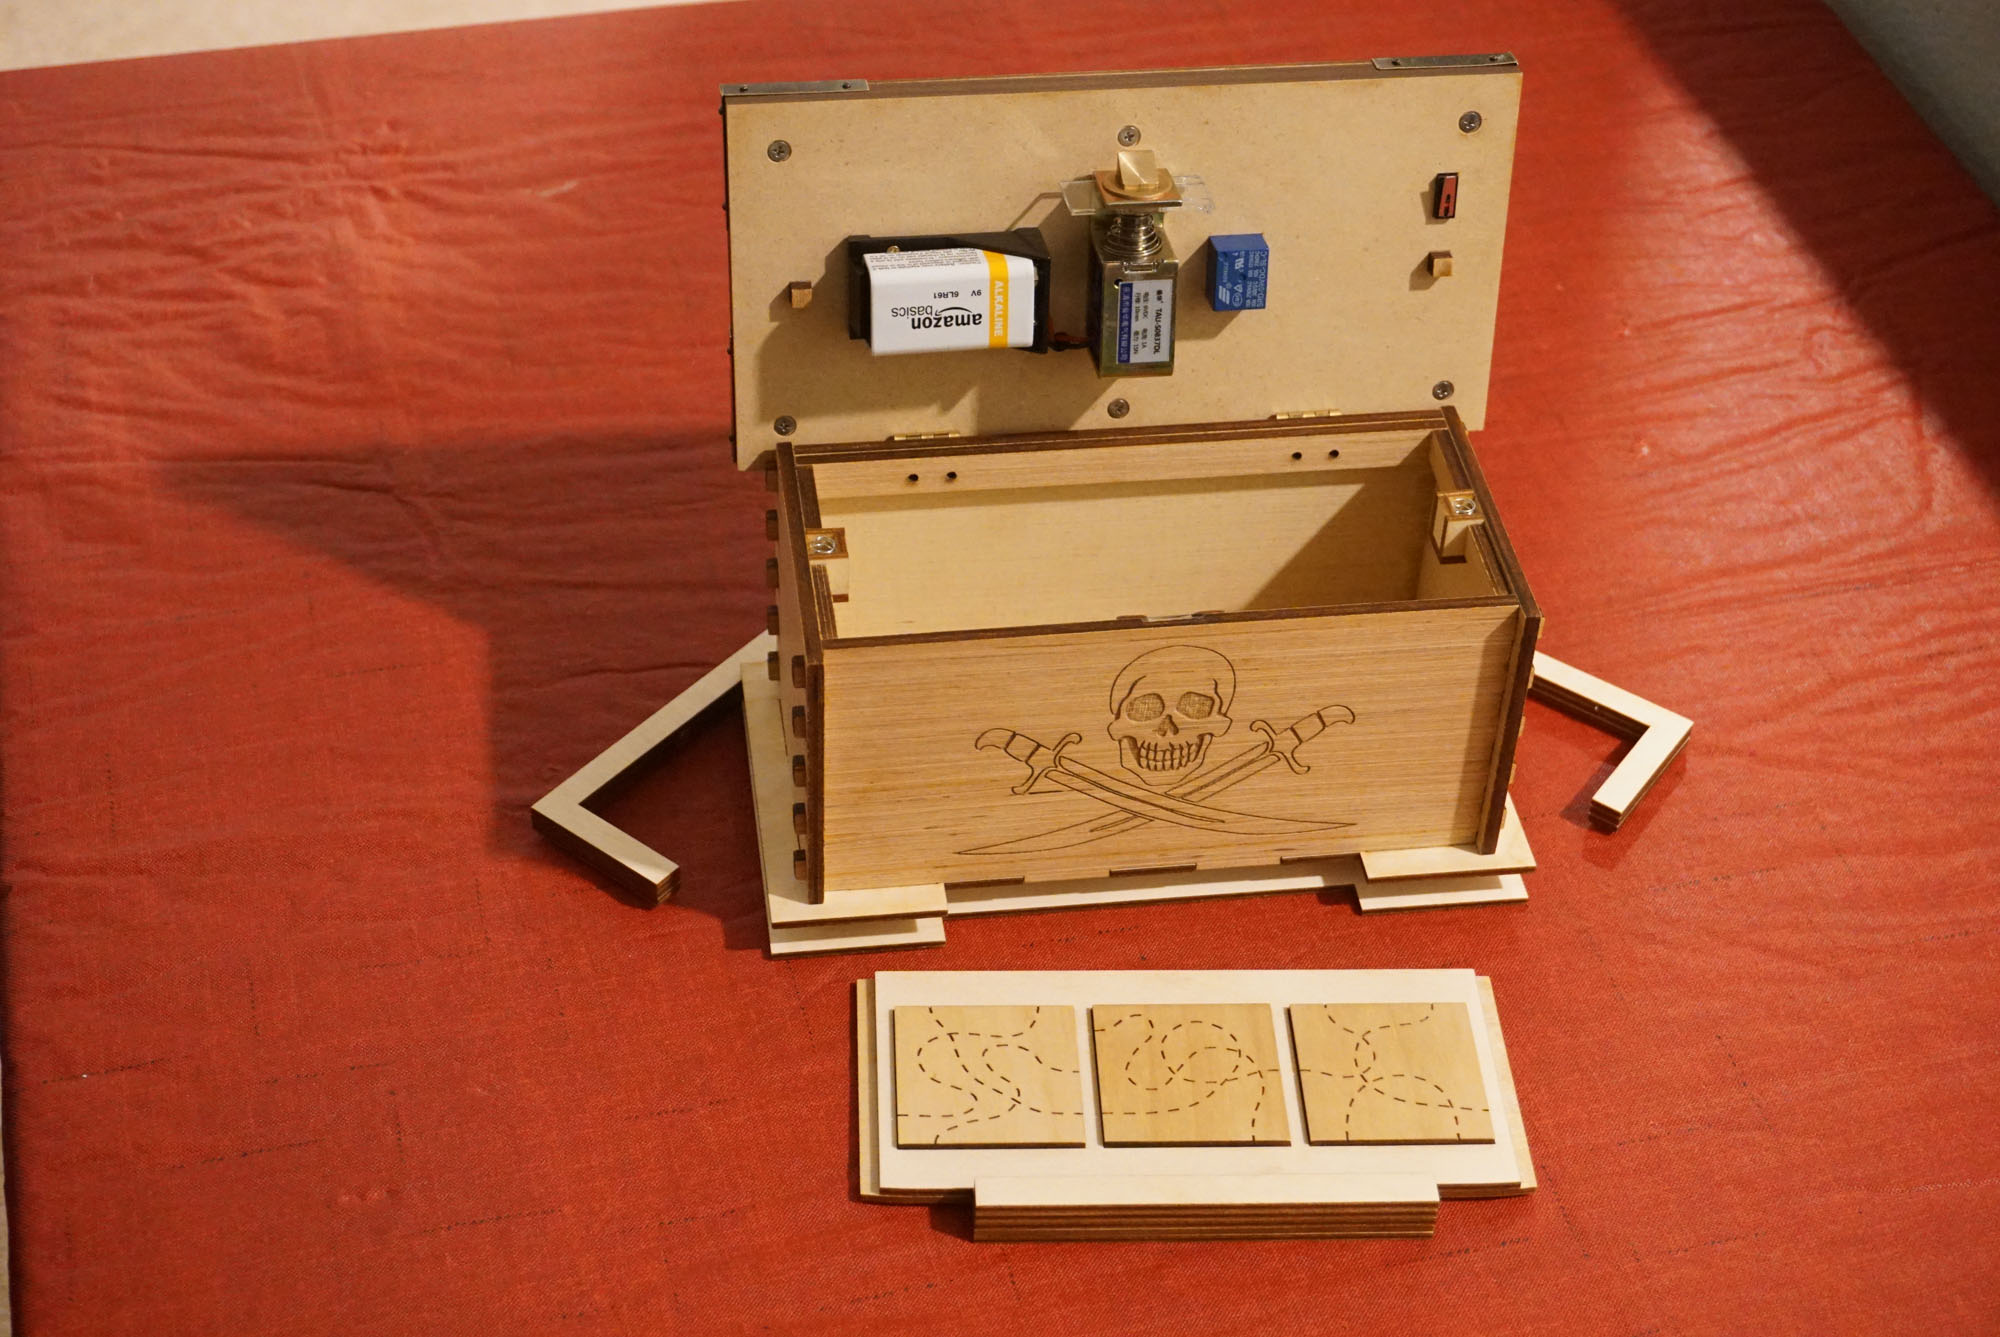
The two levers on the side are kept in their closed position by tiny magnets. This prevents them from accidentally shifting and revealing the puzzle.
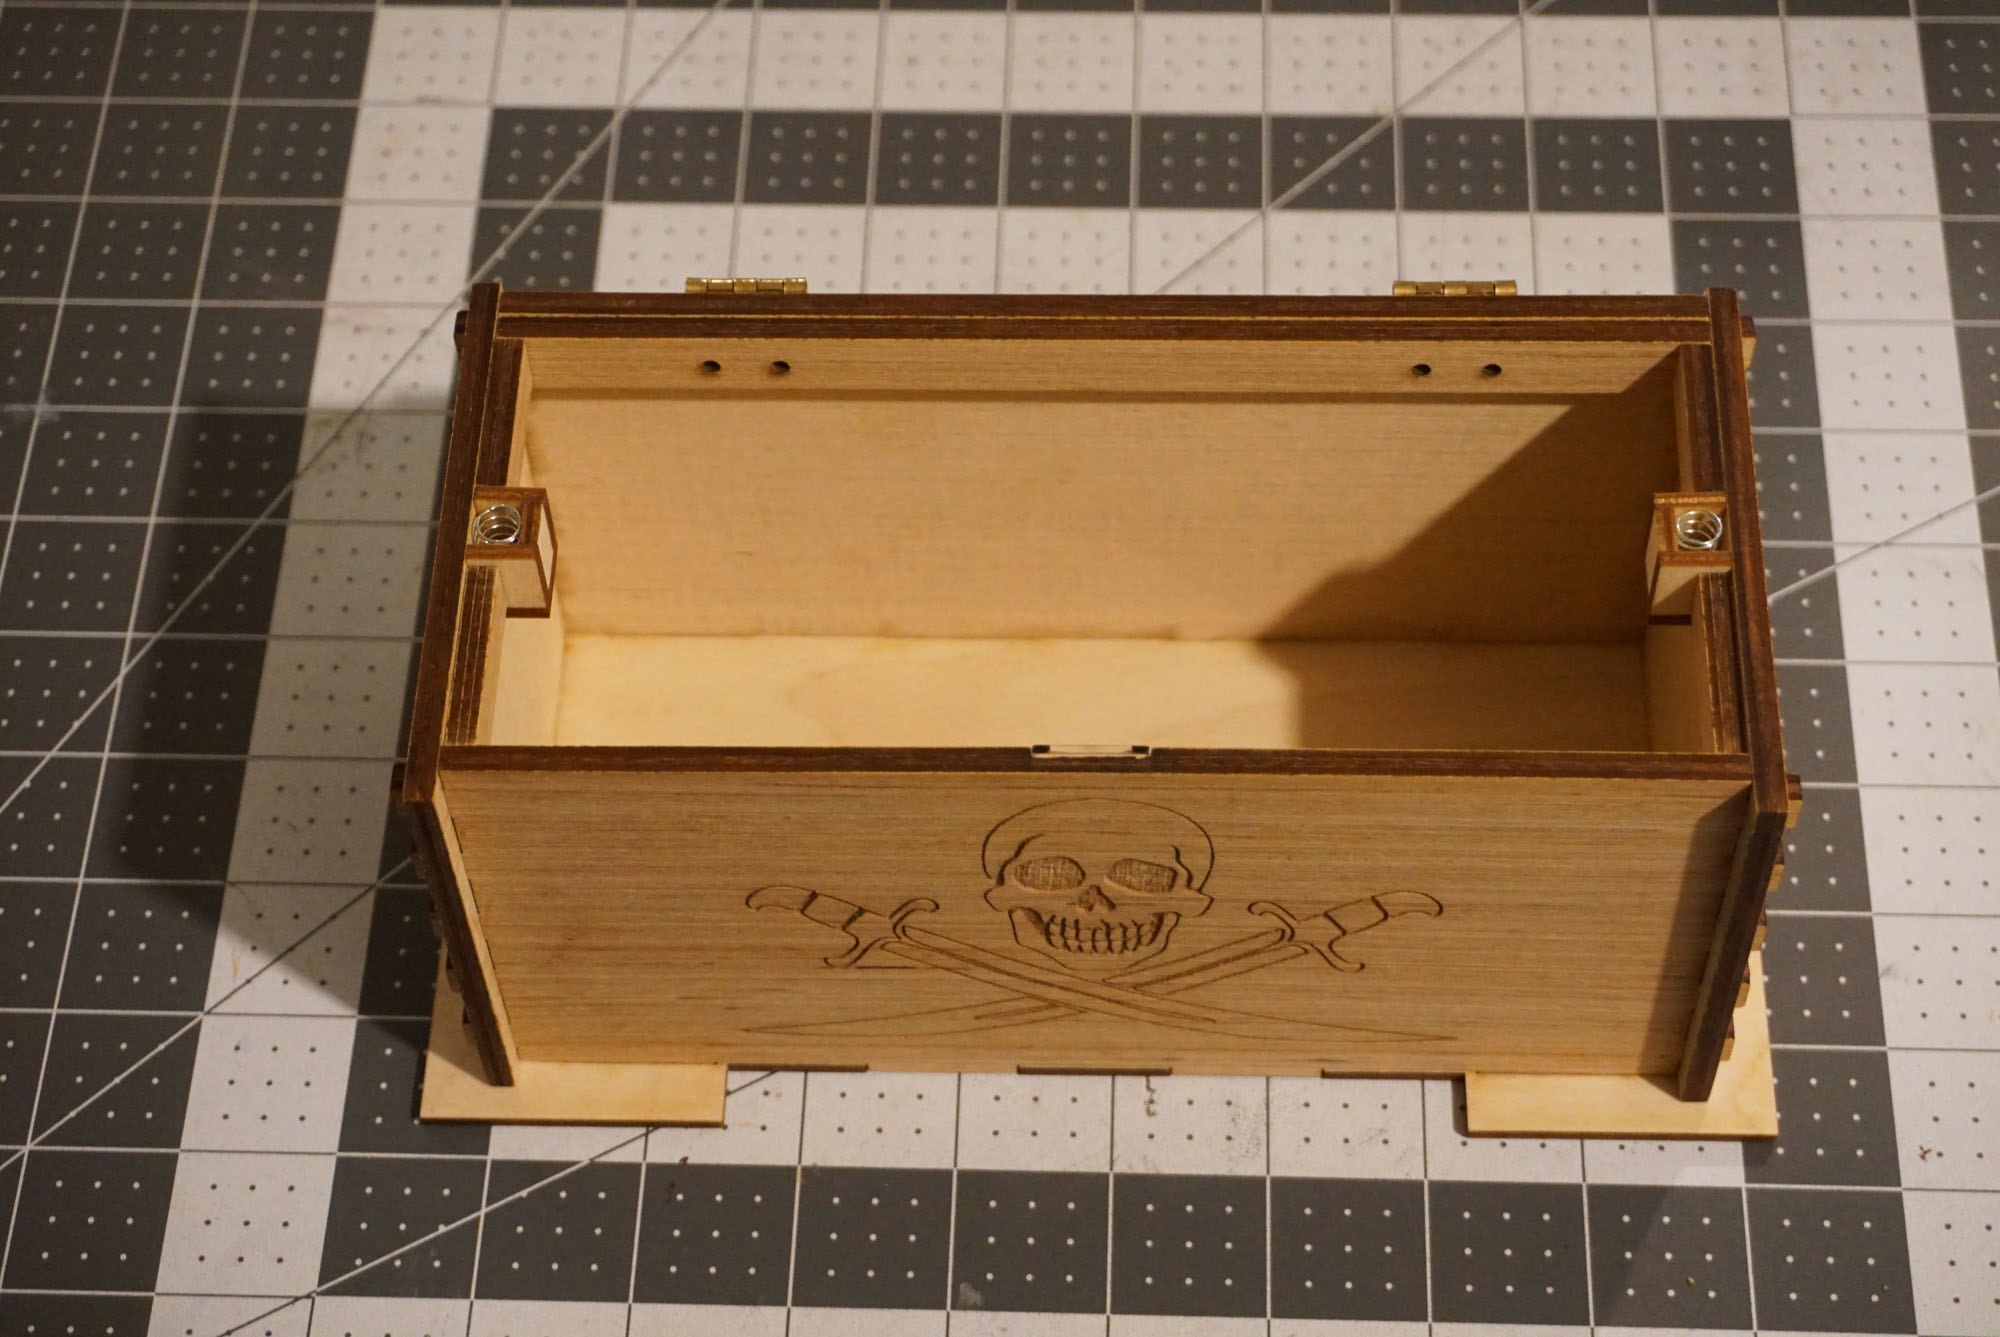
The box itself is made of 5mm plywood. It has a small acrylic insert to reinforce the lock
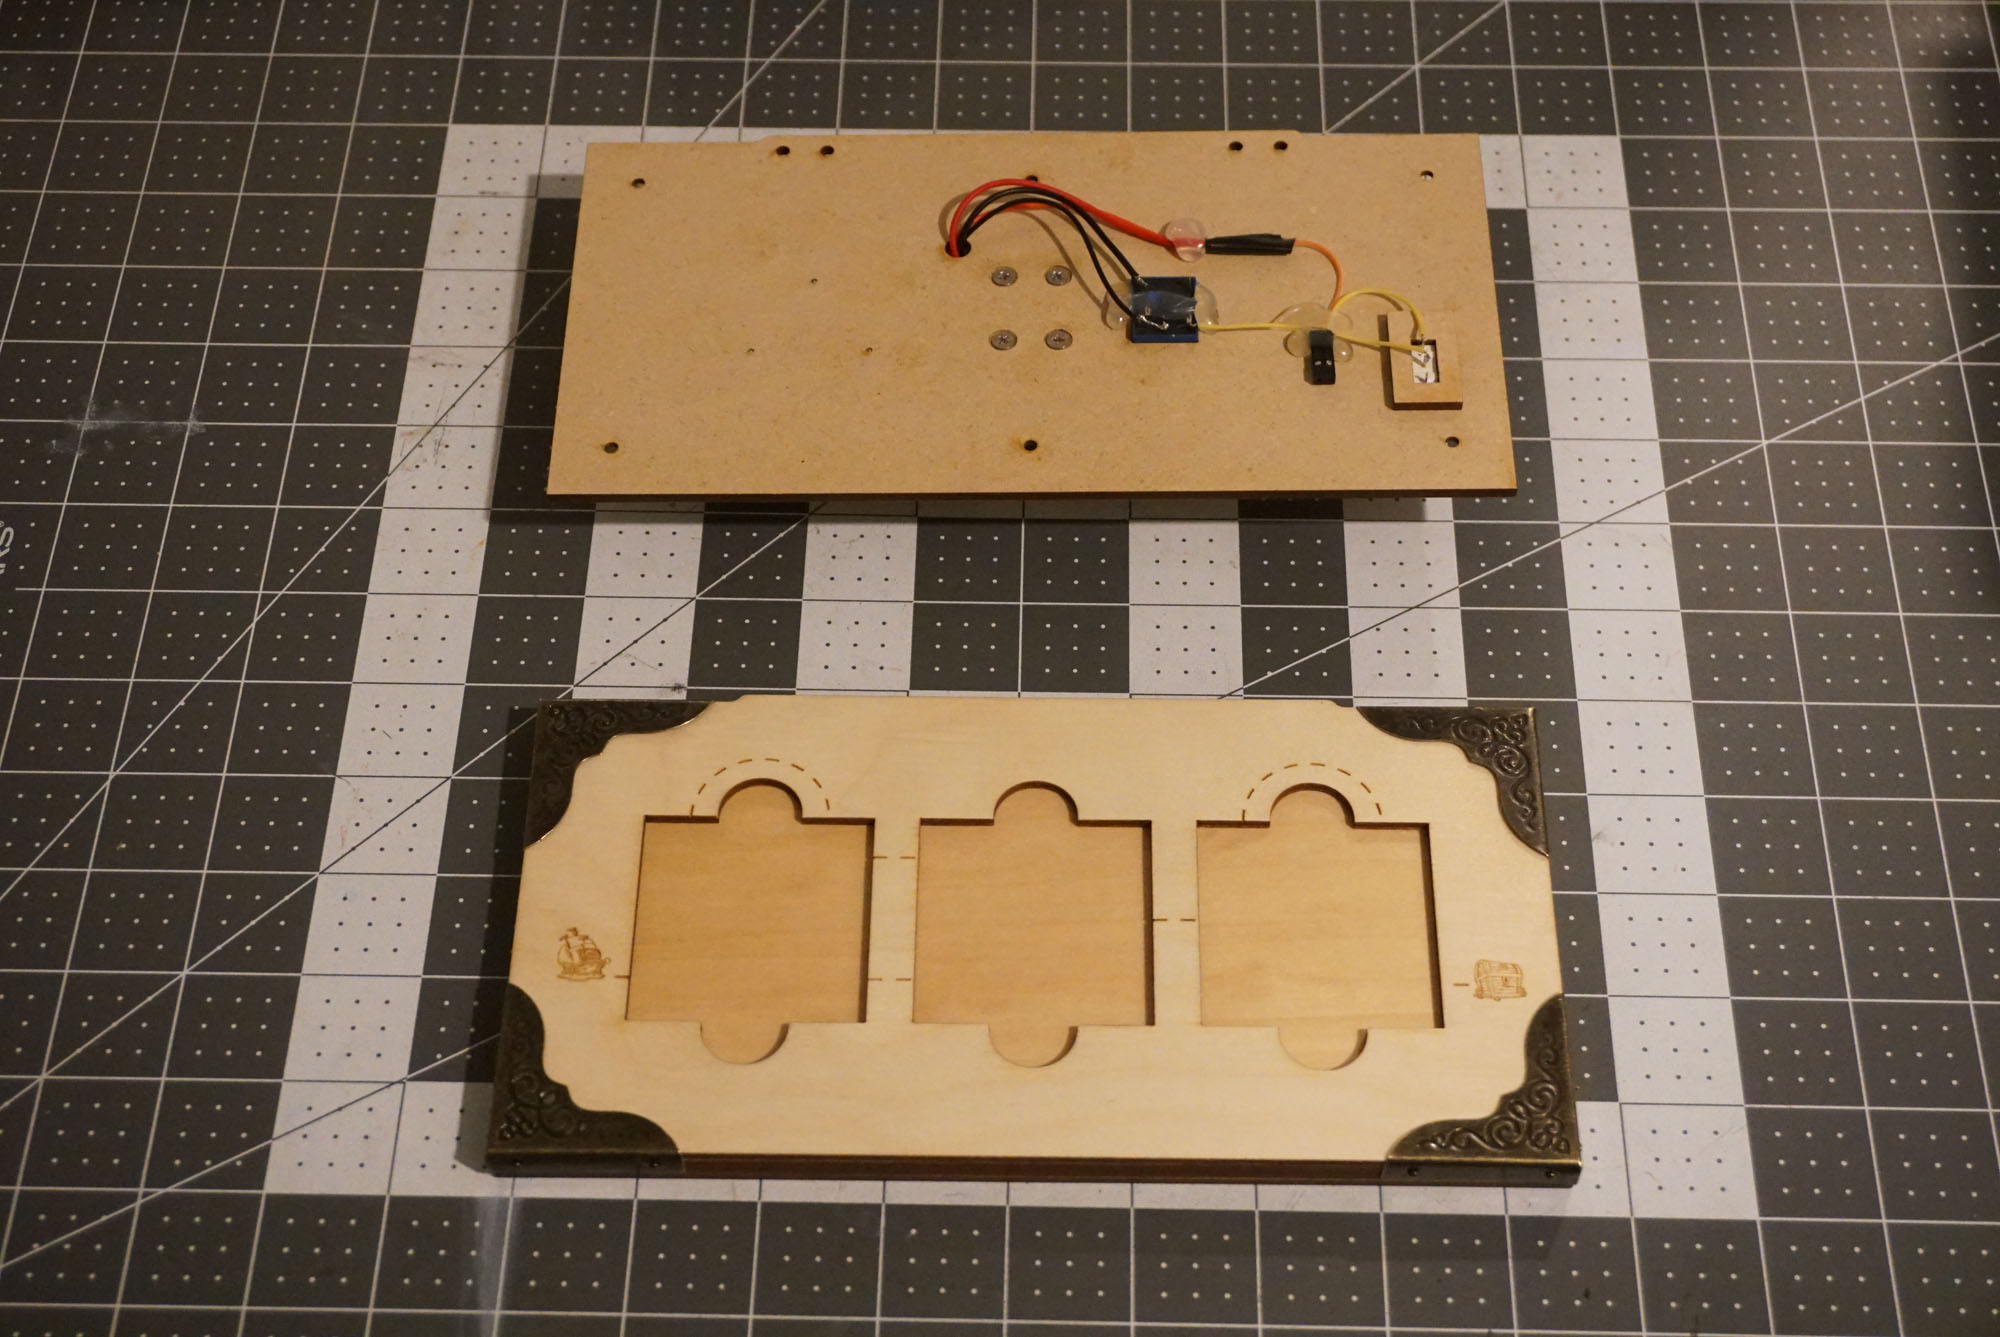
The lid has 3 layers. MDF bottom that holds most of the electrical components, middle frame, and a plywood cover with the reed switches
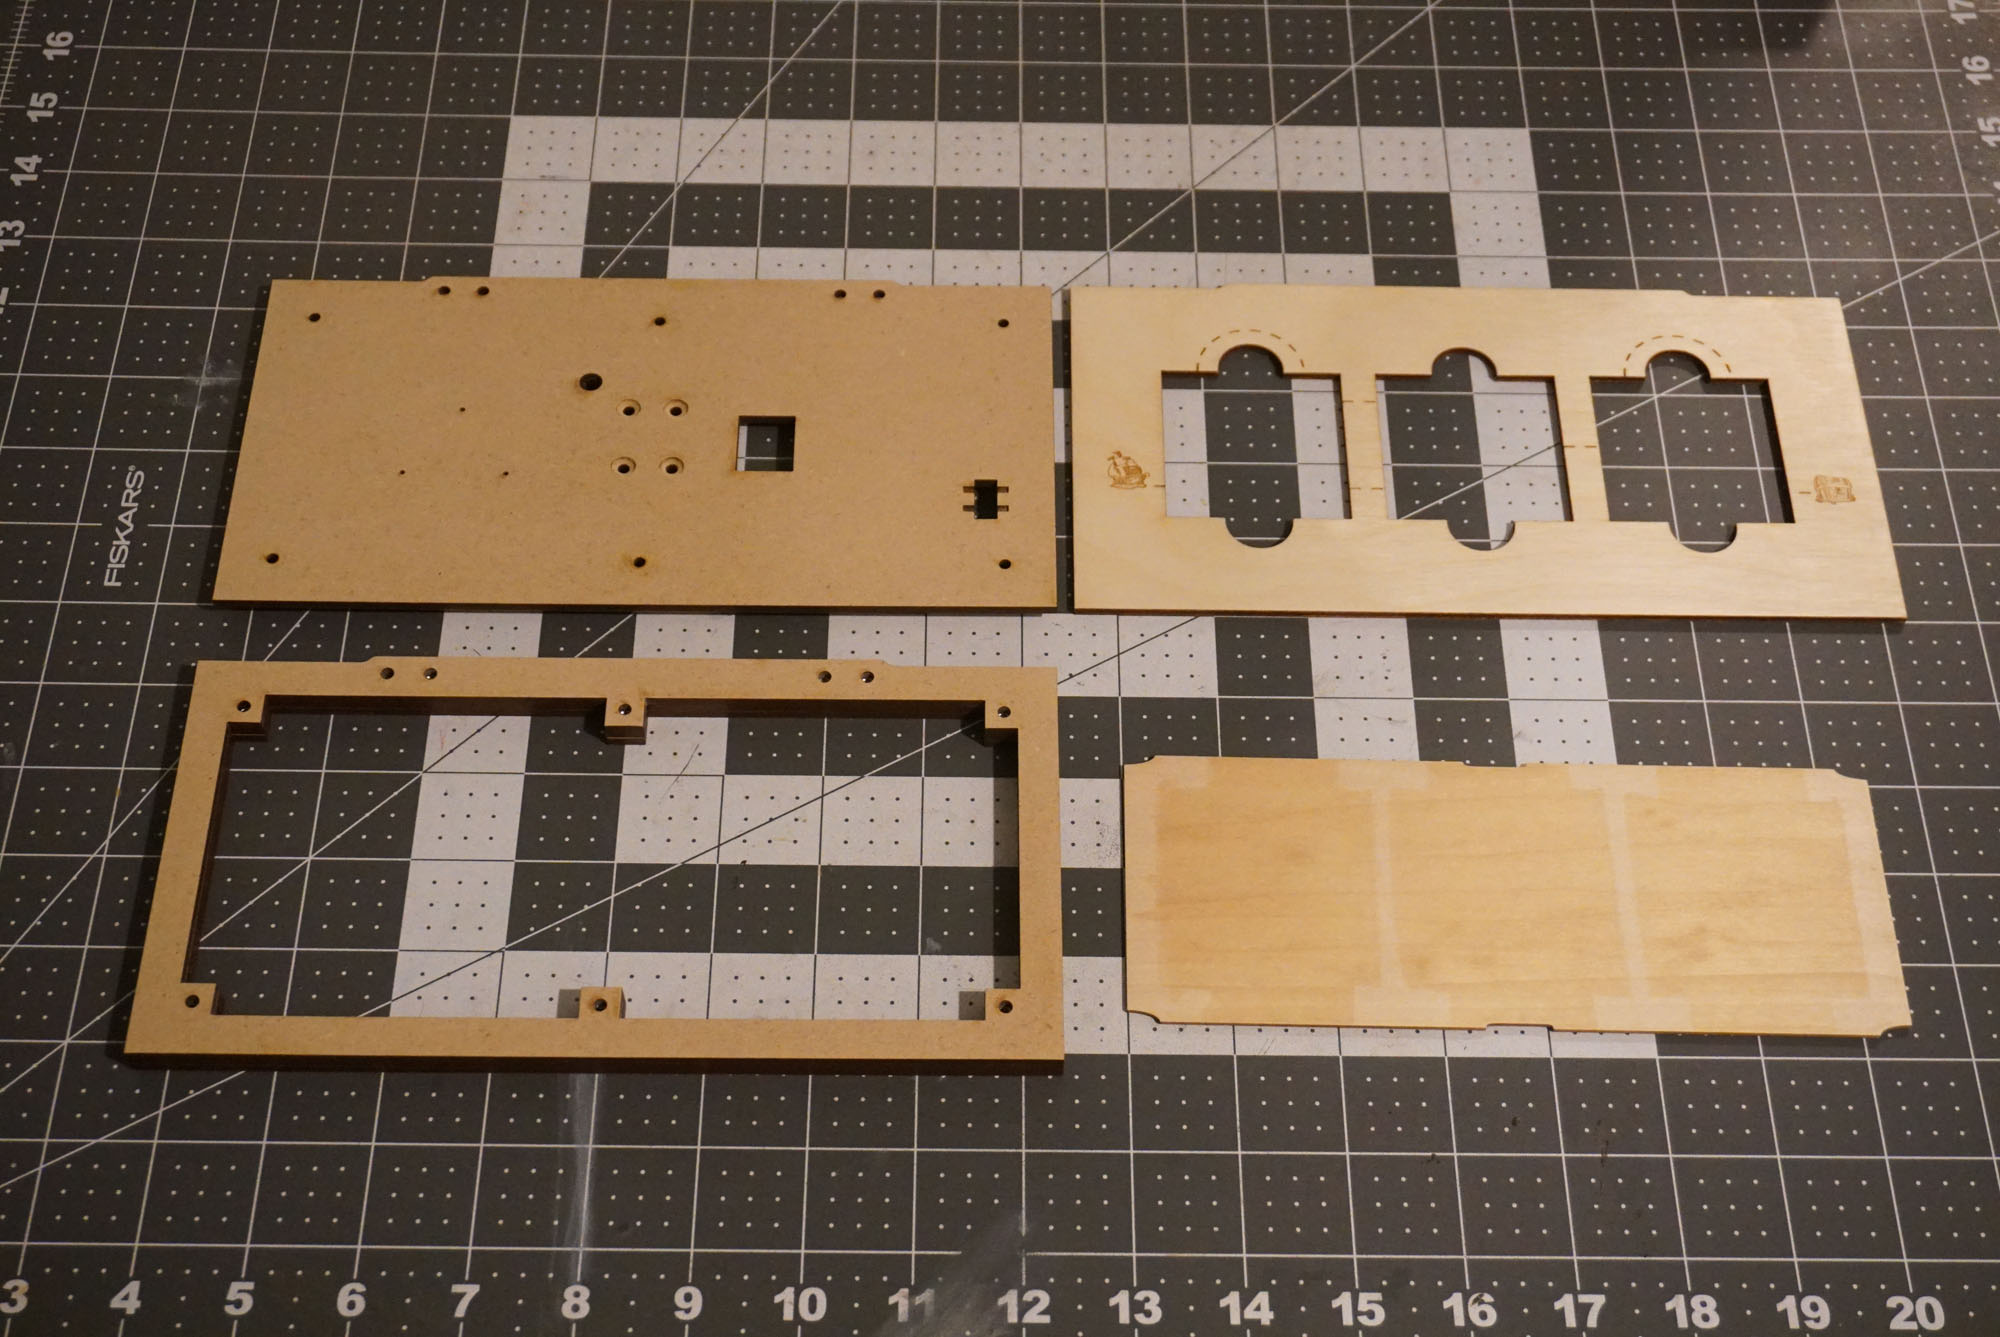
The middle frame has 3 glued layers of MDF, where the middle layer has square holes that host M3 square nuts. Using machine screws and square nuts makes it easy to disassemble the box if necessary.
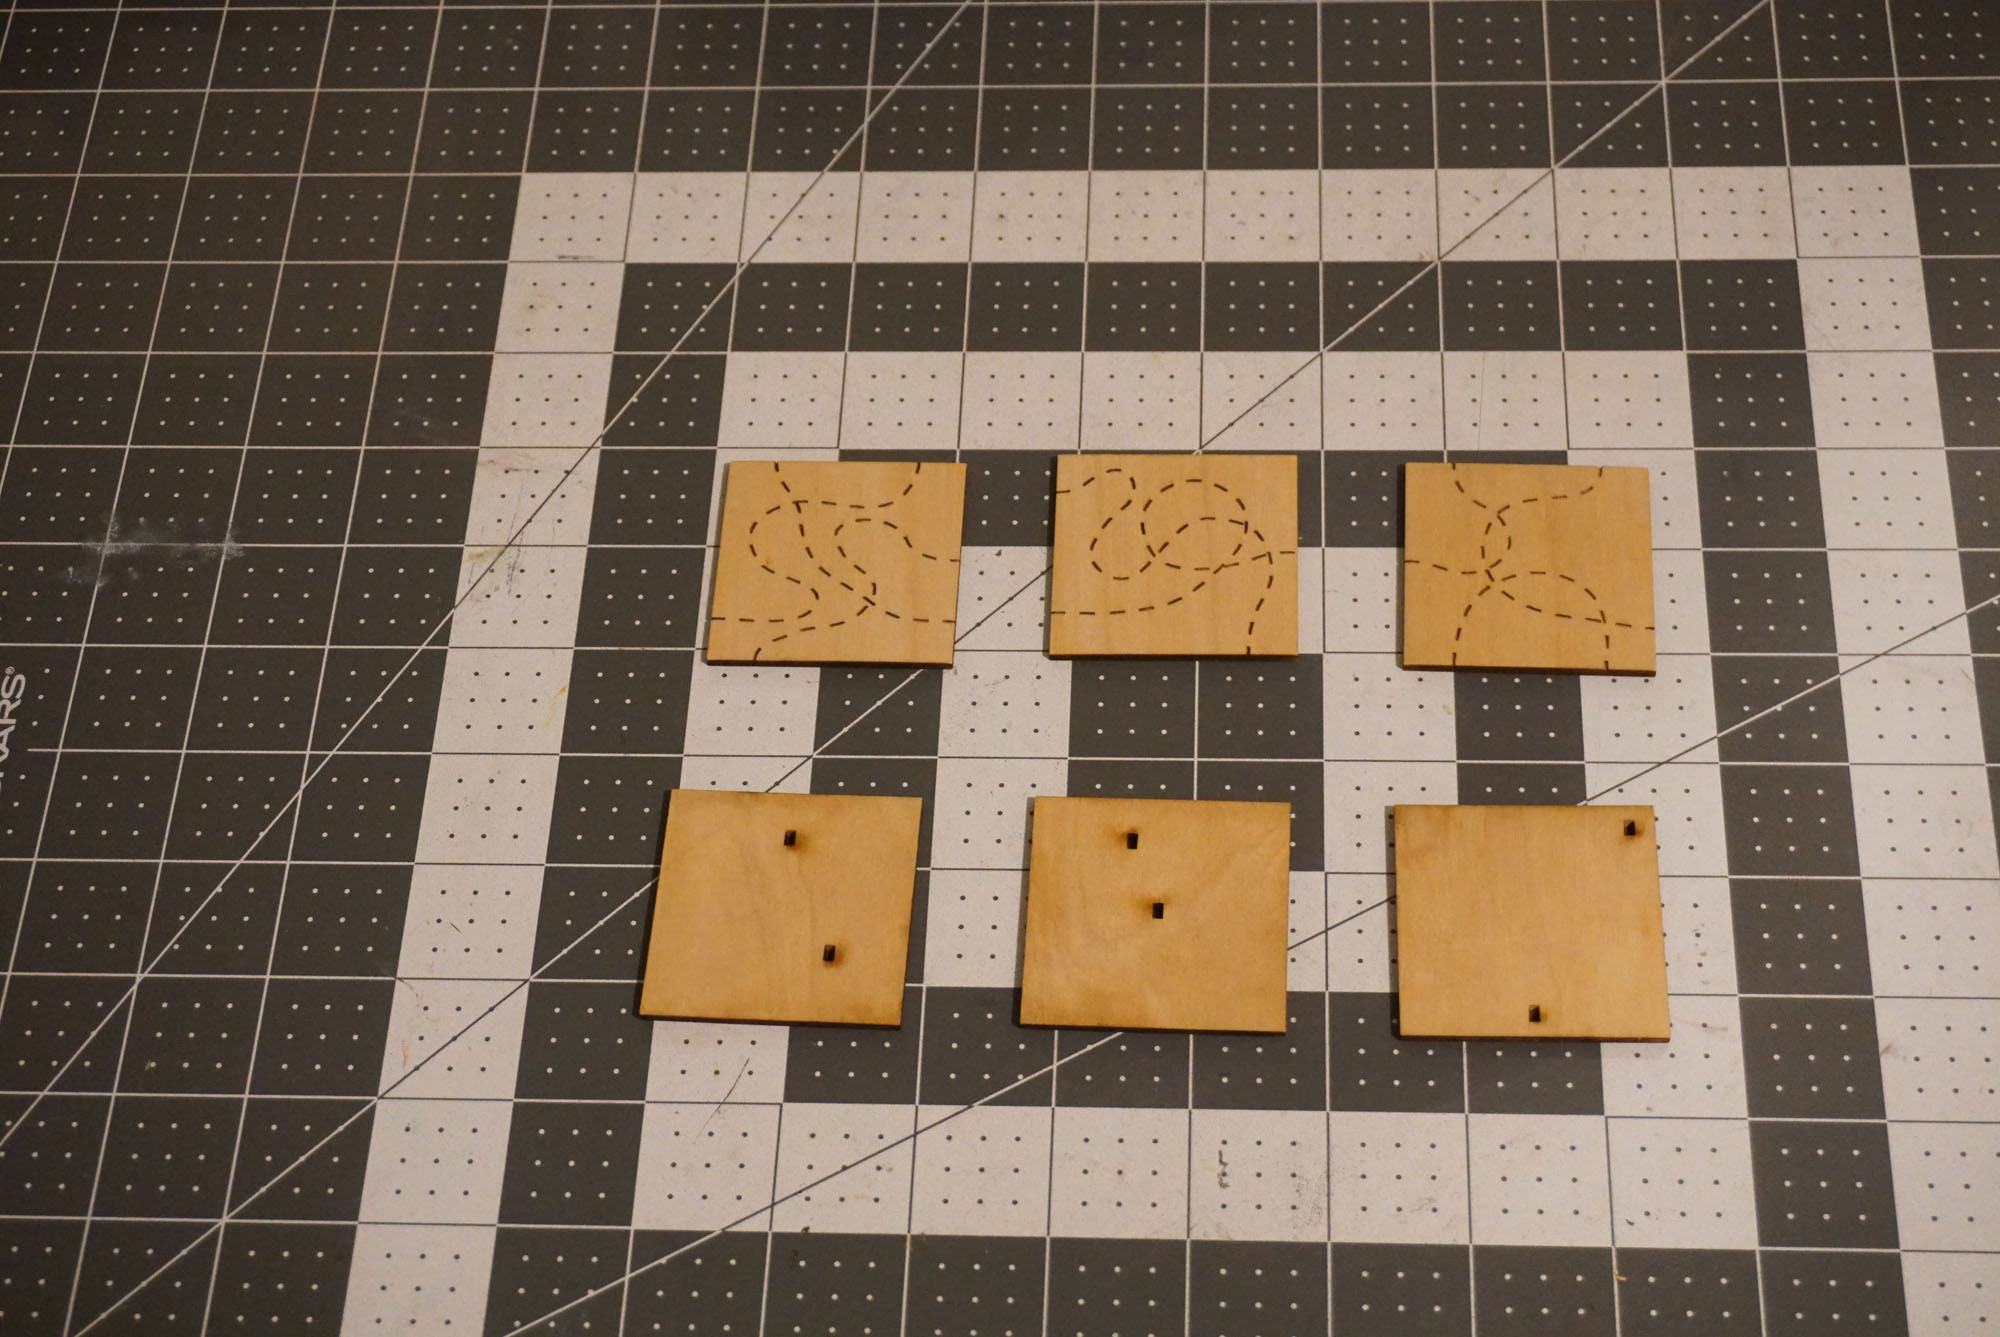
Finally, the 3 tiles are made of 2 plywood layers with tiny holes for 1/8″ magnets. The location of the magnets is unique for each tile and matches the reed switches only when the tiles are placed in one orientation
Gotchas
Some pieces need laser-engraving from both sides. For example the square tiles have the puzzle picture on one side and grooves for the magnets on the other. This needs to be done in two operations. The first one engraves one side and cuts the outline. The second operation engraves the back side. Make sure your material does not shift when flipping the pieces.
It is more convenient to apply the finishes to the wood panels before they are assembled. The file box_5mm.svg contains few comb-looking pieces, which can be attached to the wall panels. They will protect the areas that will be glued later, while spray or other coating is applied to the surface.
The reed switches are very fragile and can break if you bend the leads too close to the glass body. I decided to not bend them at all and just wire around them.
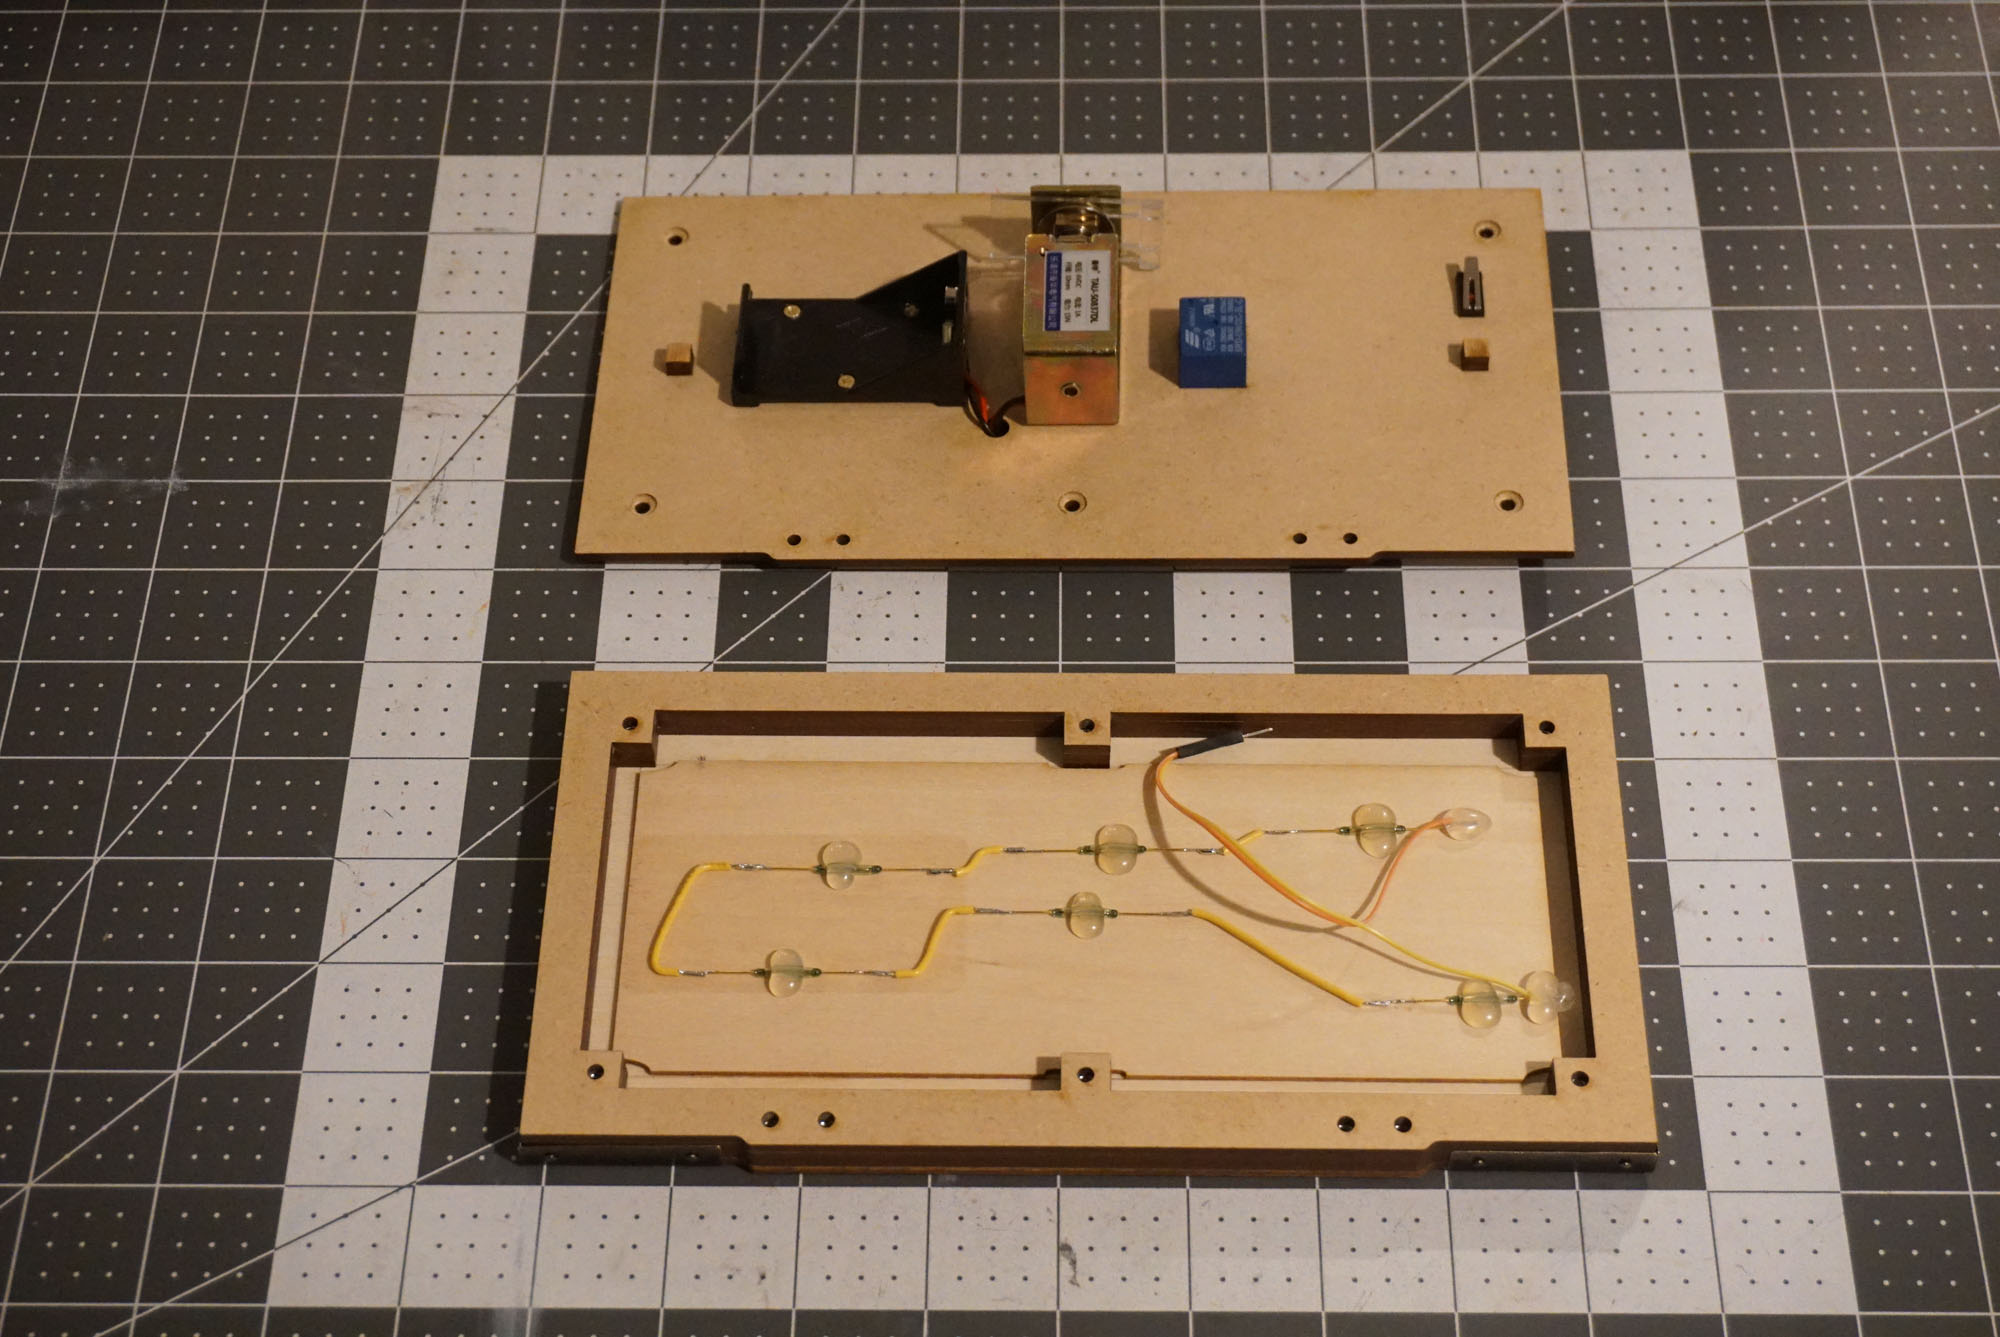
I used a lock that is rated for 6V, but here it is powered by a 9V battery for extra power. The lid has a switch to interrupt the current once the lid is open, ensuring that the lock is powered only for a brief moment and avoid overheating.
The lock draws more than 1A of current, which is too much for the reed switches. Instead, the switches control a relay that provides power to the lock.
A lock this powerful generates strong magnetic field. It took a few prototypes to position the reed switches in such place to not be affected by the lock’s interference.
The springs inside the box must be strong to lift the lid enough to trigger the switch that disconnects the lock. They also can’t be too strong, otherwise there is too much friction for the lock to retract. It requires careful balancing. The adjustments were further complicated by the heaviness of the lid – because of the large lock, the battery, and the metal decorations. A lighter lid would make this easier. A possible improvement is to move the battery and the relay into the box itself.
Materials
- Reed switches: https://www.amazon.com/gp/product/B071RYZ64N
- Tiny magnets: https://www.magcraft.com/magcraft-nsn0592
- Small hinges: https://www.homedepot.com/p/Everbilt-3-4-in-x-11-16-in-Bright-Brass-Middle-Hinges-19724/204485781
- Powerful electromagnetic lock: https://www.aliexpress.com/item/Wholesale-DC12V-1A-Force-15N-travel-10mm-Lock-Type-Linear-Solenoid-Electromagnet-JF-S0837DL
- 9V battery holder: https://www.amazon.com/gp/product/B0784FMY9J
- 9V relay: https://www.amazon.com/gp/product/B07KS5N91N
- A micro switch: https://www.amazon.com/gp/product/B073TYWX86
Download the SVG plans from here: mag_box.zip